Happy crafting, candle enthusiasts! Get ready to hyper-fixate on these beautifully aesthetic do-it-yourself natural candles inspired by Kayla Gresh on Tiktok. Her video is included below for all the visual learners! This project is perfect for anyone wanting to add a little personality to their candles, give as a gift for the holidays, or for someone who absolutely loves candles. Another great thing about this project is that all of the materials can be found on Amazon.com.
Imagine a cozy evening bathed in the warm glow of a handmade candle, casting a soothing fragrance derived from essential oils. In this blog, we’ll explore the art of creating beautiful, aromatic candles using silicone molds, vibrant wax dyes, and the power of nature’s essences.
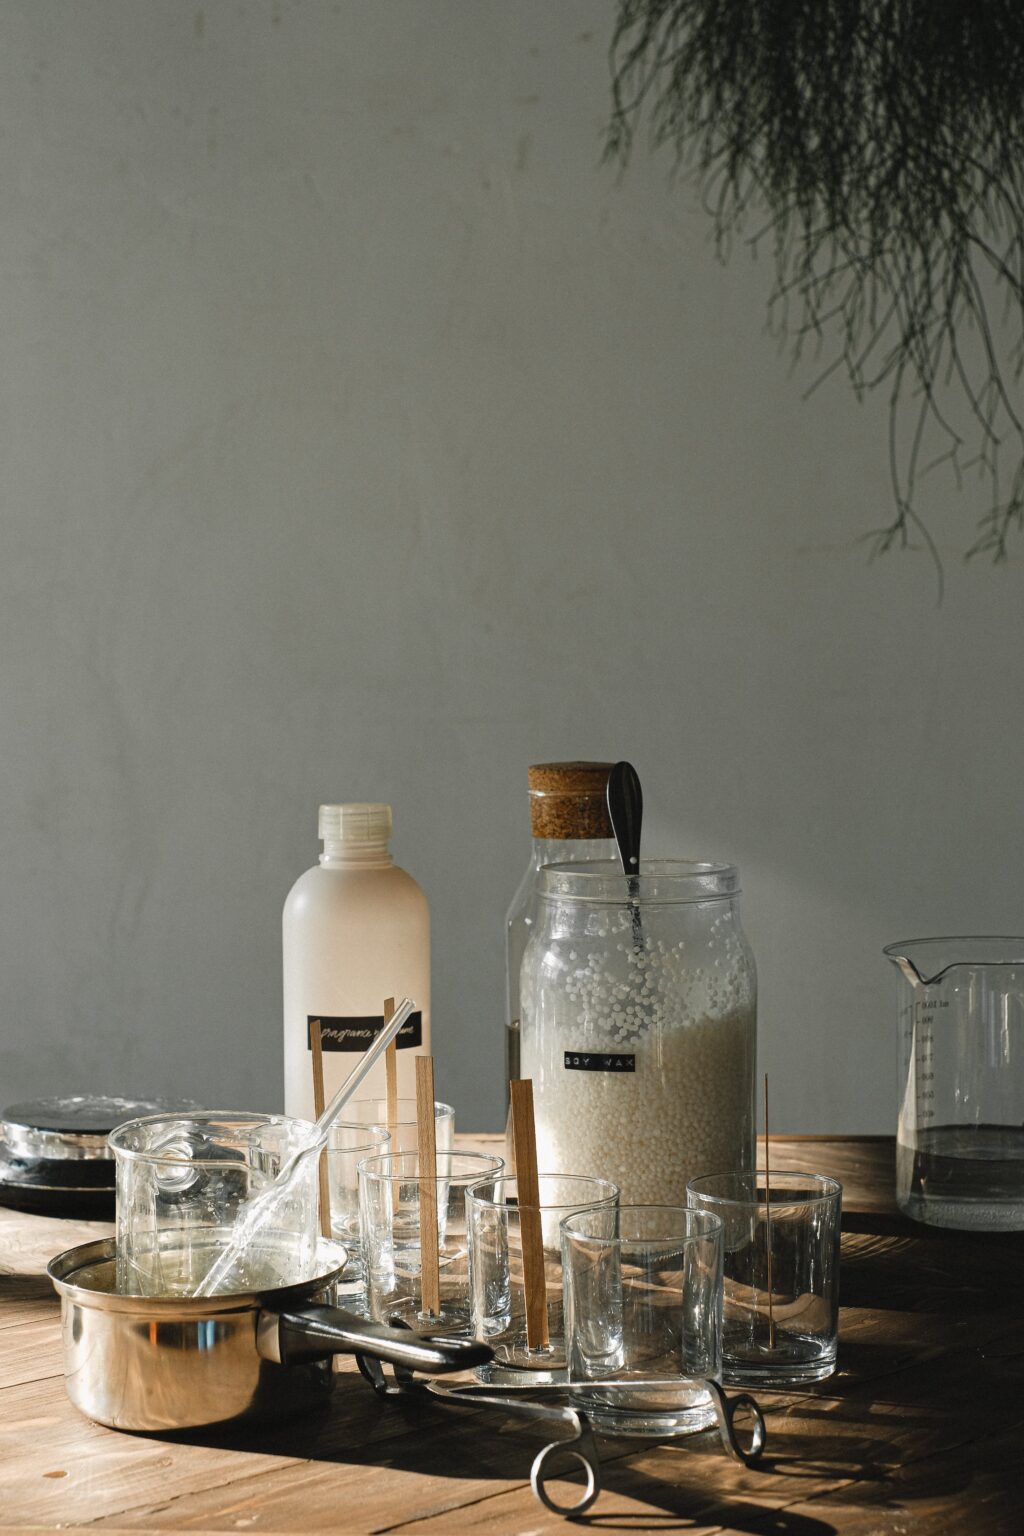
Materials Needed:
1. Wax: Choose a high-quality, natural wax like soy or beeswax. These waxes burn cleanly and are environmentally friendly. Soy wax was used in the Tiktok video.
2. Wick: Opt for a cotton or hemp wick for a clean and even burn.
3. Silicone Molds: Get creative with your candle shapes by investing in silicone molds. Leaf molds and pumpkin molds add a touch of nature to your creations.
4. Wax Dye: Enhance the visual appeal of your candles by using wax dye. Experiment with various colors to match your décor or create seasonal themes.
5. Essential Oils: Infuse your candles with delightful scents using essential oils. Popular choices include lavender, eucalyptus, and cinnamon.
6. Double Boiler: Melt your wax safely using a double boiler or a dedicated wax melter.
7. Stirring Utensil: A heat-resistant spoon or stirring stick for blending your wax and dye.
8. Candle Container: A bowl or smaller container to hold your beautiful creation.
Step-by-Step Guide:
1. Prepare Your Workspace:
Set up a clean and organized workspace. Cover surfaces with newspaper or wax paper to make cleanup easier.
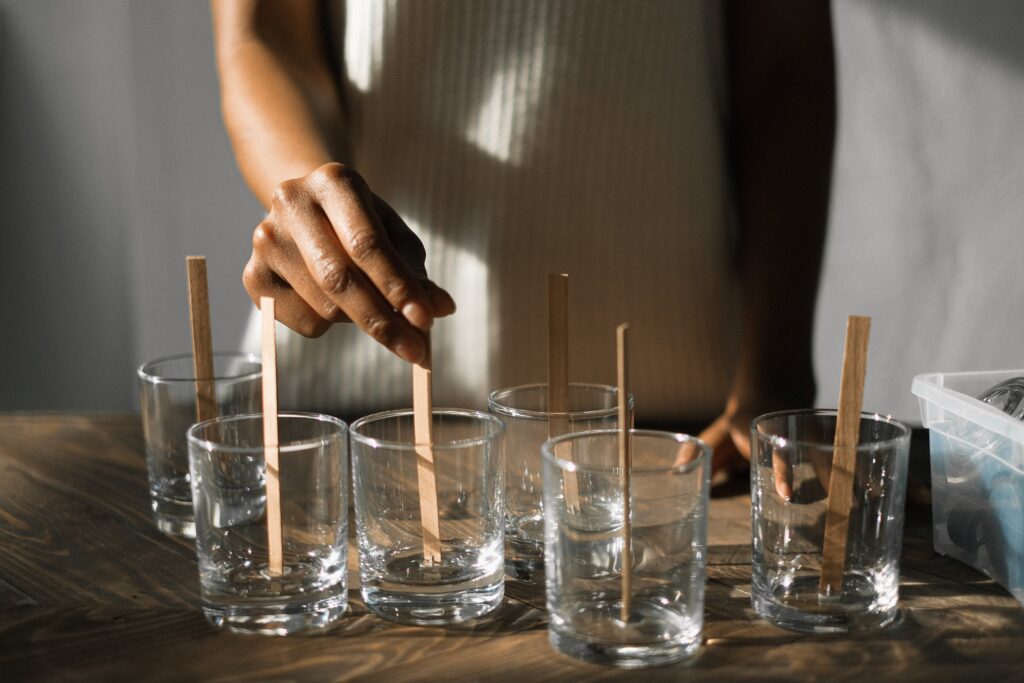
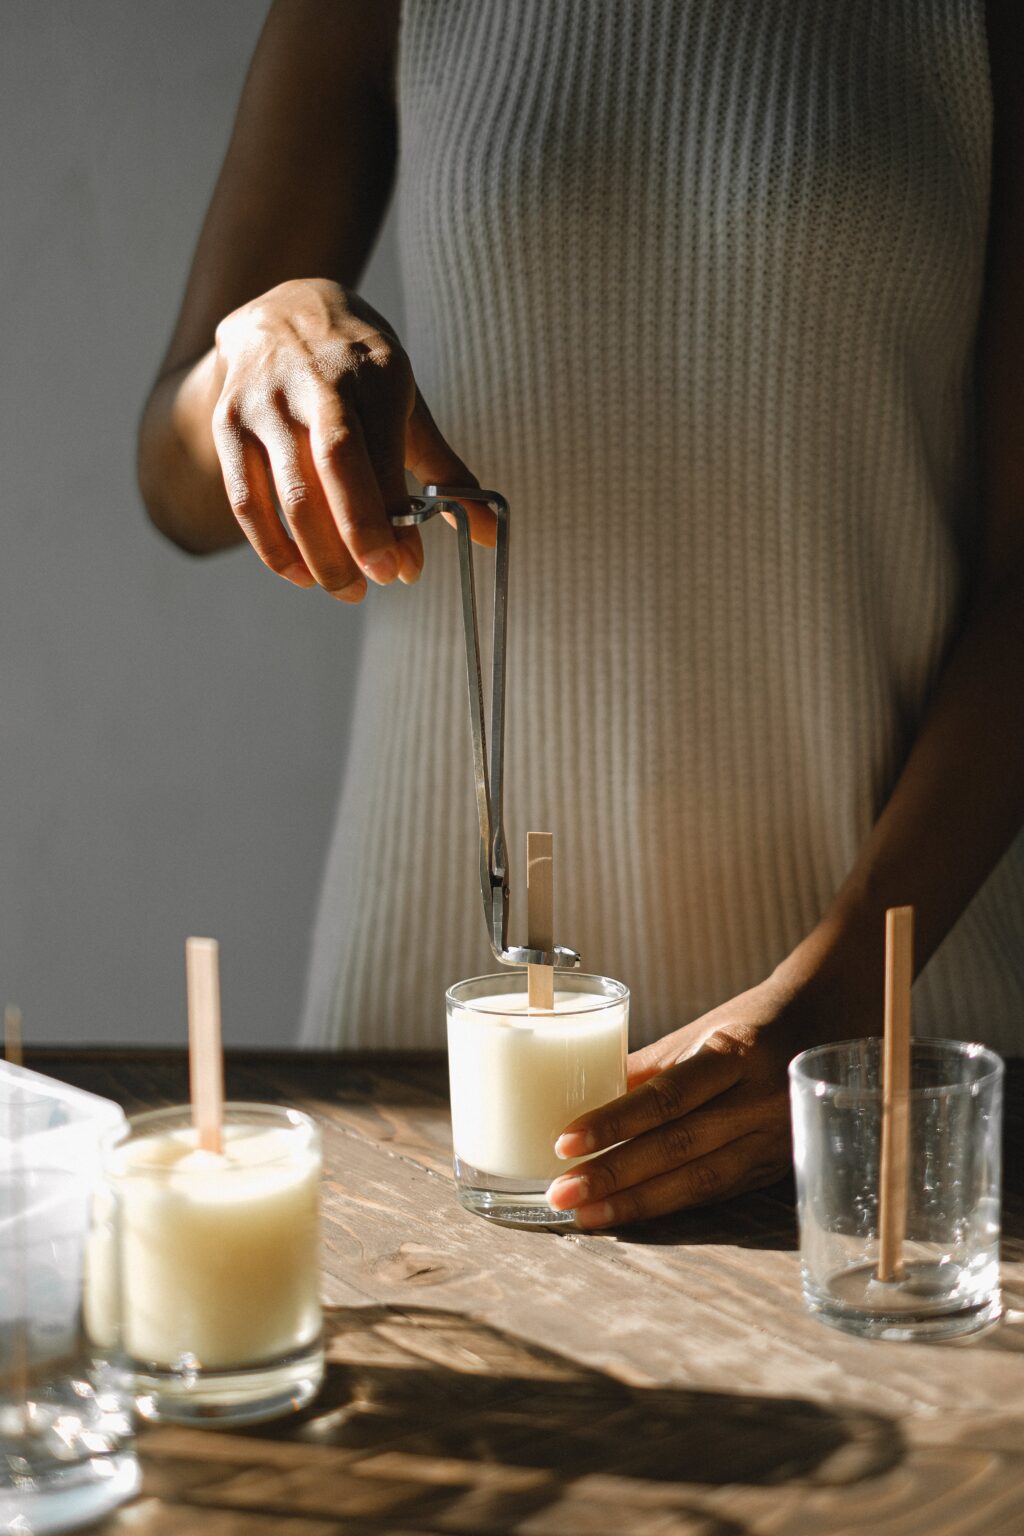
2. Wick / Wood Wick Placement:
Secure the wick in the center of your silicone mold. You can use a dab of melted wax to anchor it in place.
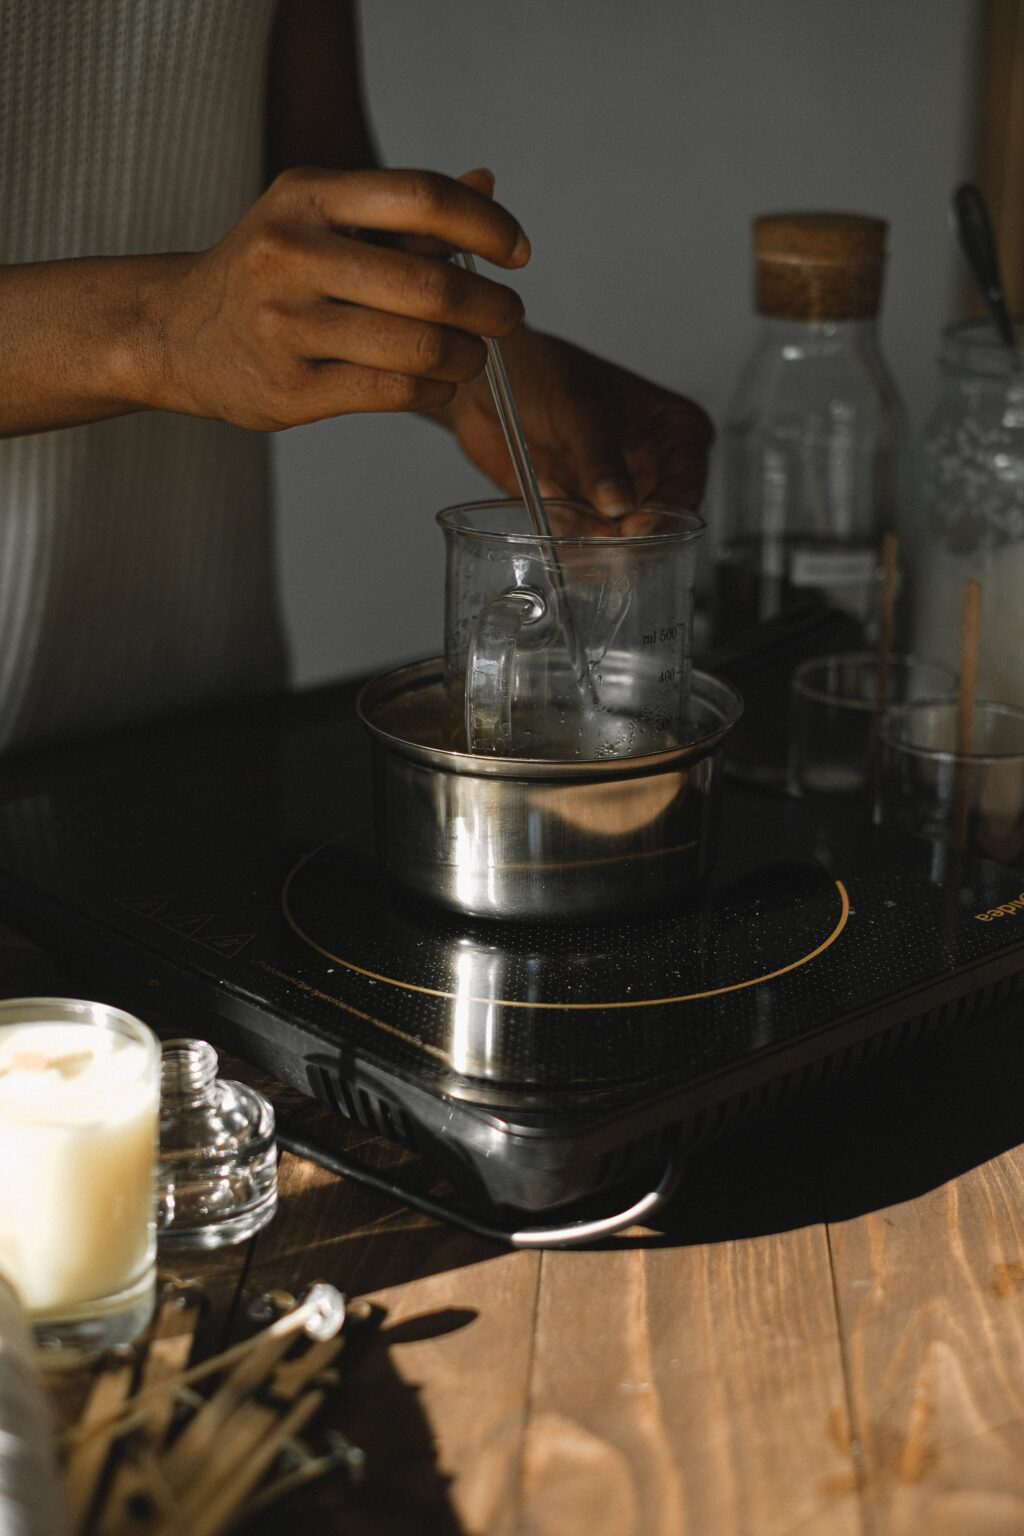
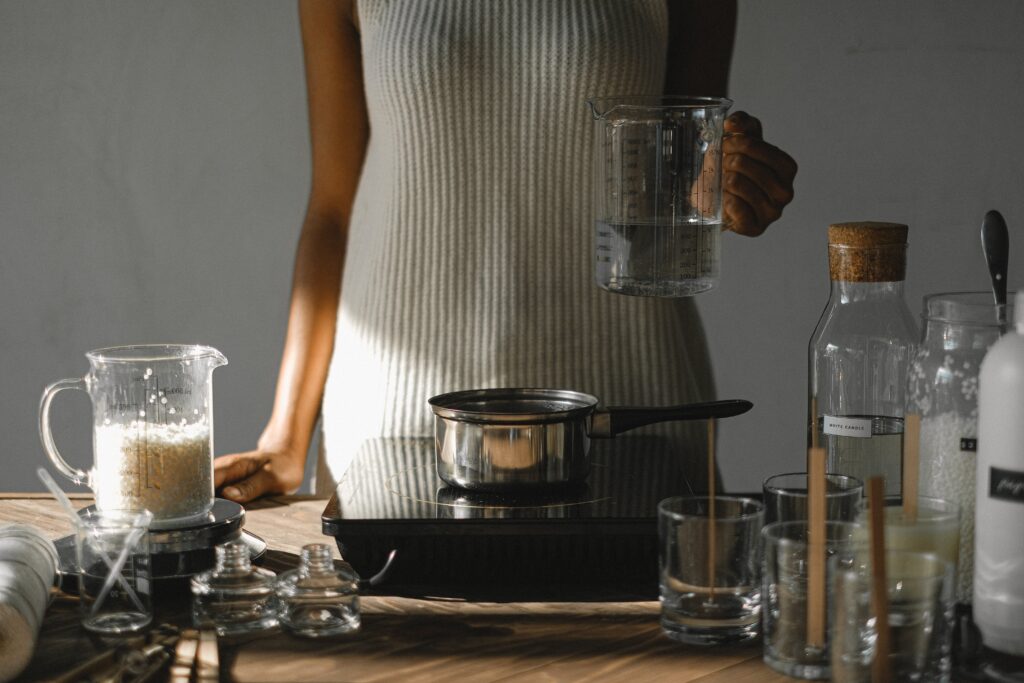
3. Melt the Wax:
Using a double boiler, melt your chosen wax. Stir occasionally to ensure even melting.
4. Add Wax Dye:
Once the wax is fully melted, add your chosen wax dye. Start with a small amount and adjust until you achieve the desired color.
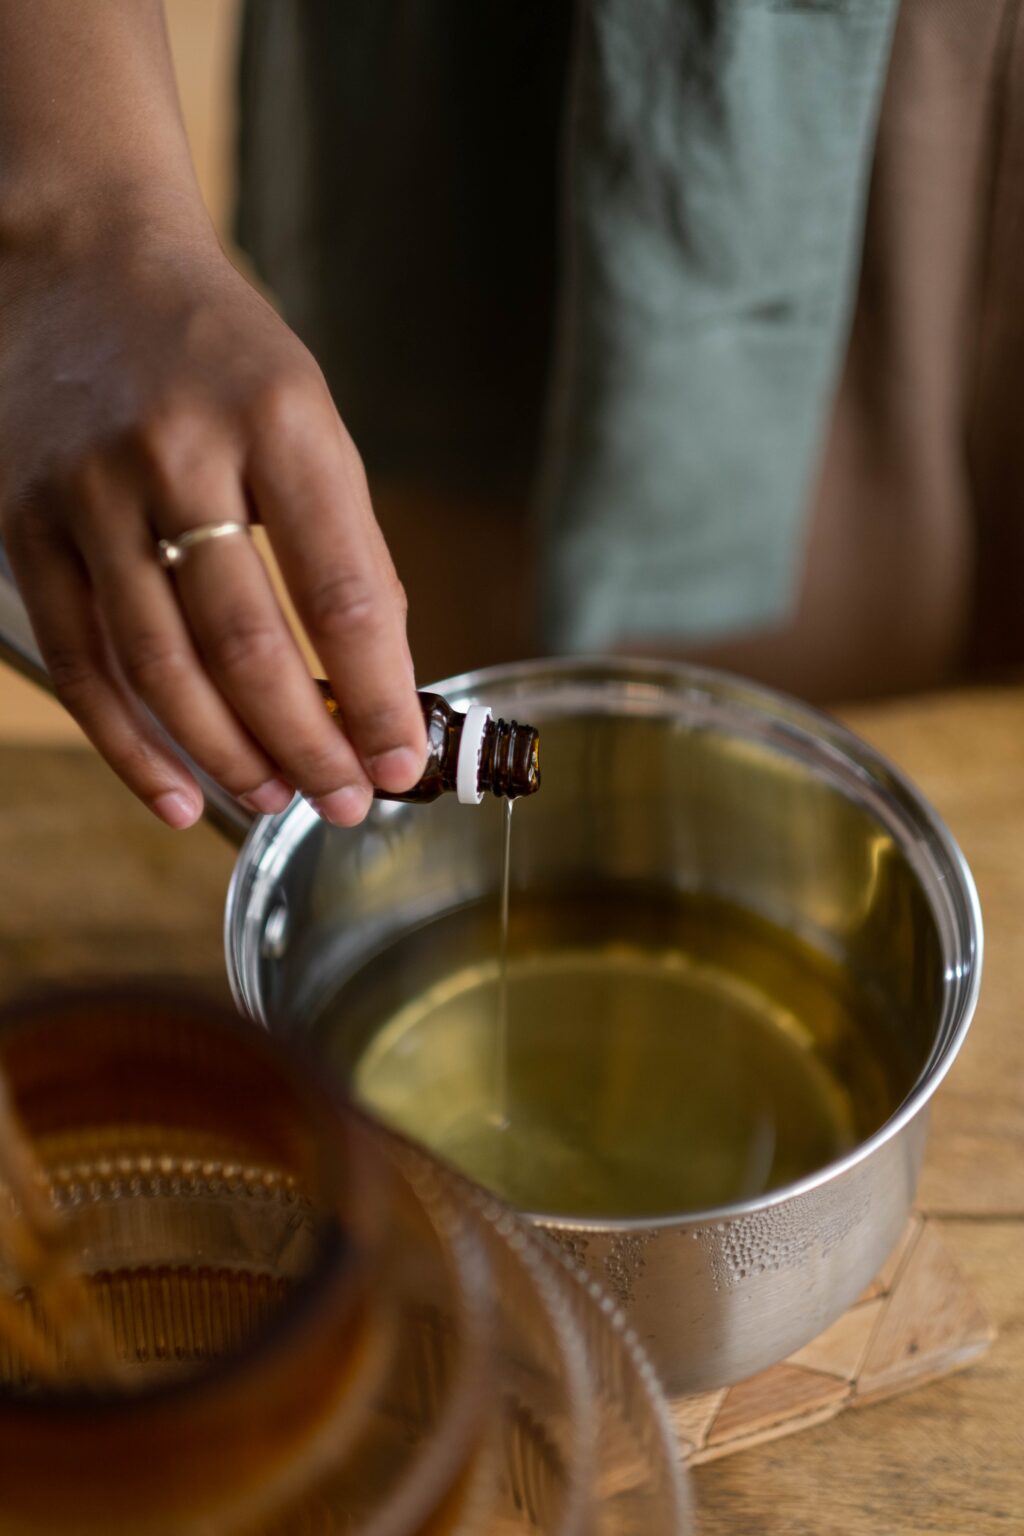
5. Infuse with Essential Oils:
Stir in your chosen essential oils for a delightful fragrance. Be mindful of the amount, as essential oils can be potent.
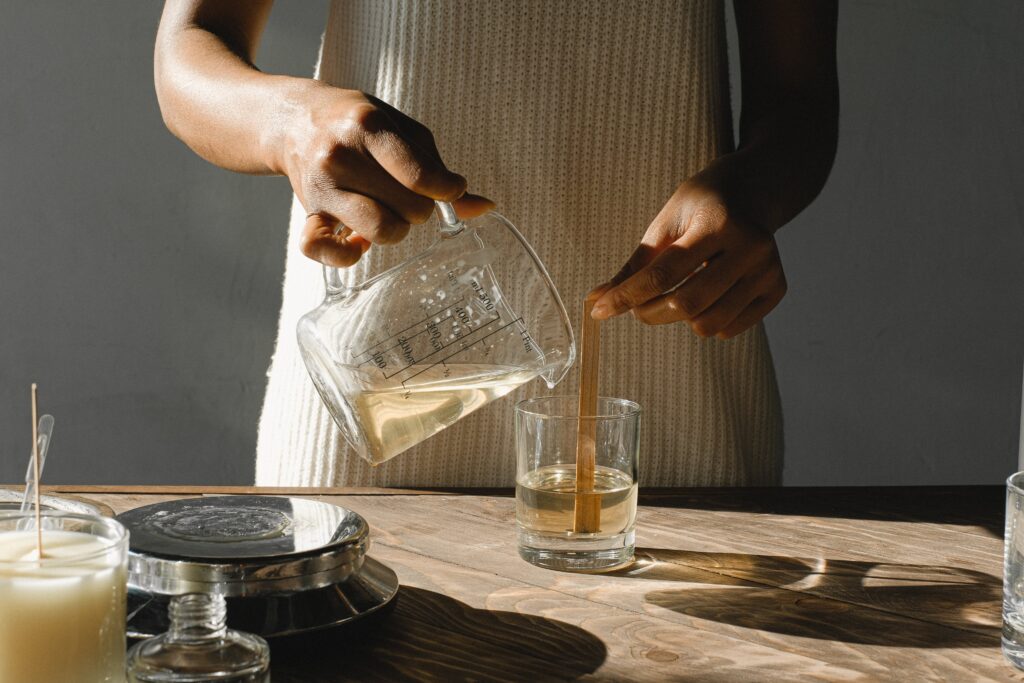
6. Pour the Wax:
Carefully pour the colored, scented wax into the silicone molds and your main container for your candle. Fill them to the desired level, leaving room for expansion as the wax cools.
7. Cool and Set:
Allow the candles to cool and set completely. This may take a few hours, so it might be a good time to take care of any lingering chores or reading that have been taunting you in the meantime.
8. Unmold Your Mold Creations:
Gently pop your decorative wax out of the silicone molds. The intricate details of the leaves, pumpkins, or snowflakes should now be beautifully captured in your candles after placing them in your main container of set wax that will hold the whole piece together.
9. Trim the Wick:
Trim the wick to the desired length, typically around 1/4 inch above the wax surface. Snip, snip!
10. Enjoy Your Handmade Creations:
Light your candles, sit back, and bask in the warm glow and soothing fragrance of your handmade, natural creations.
https://www.tiktok.com/t/ZT8PfPDSr/